Effortless Wallpaper Removal: Tools Every Homeowner Should Own
Staring down a room covered in outdated wallpaper? Wait to reach for the stress ball! Removing wallpaper can be a breeze with the right tools in your arsenal. This guide equips you with the essentials to tackle that old wallpaper and reveal a fresh canvas for your decorating dreams.
Safety First!
Before diving in, a safety note: some older wallpapers, especially pre-1980s wallpapers, might contain lead or asbestos. If you suspect this might be the case in your home, play it safe and call a professional removal service. They have the proper equipment and training to handle these hazardous materials.
Gearing Up: Your Wallpaper Removal Toolkit
Now, let’s assemble your wallpaper removal tools dream team! Here are the essential tools you’ll need:
- Wallpaper Steamer: This is your secret weapon. A wallpaper steamer blasts concentrated steam onto the wallpaper, loosening the adhesive and making it easier to peel off. For a budget-friendly option, you can rent one from your local hardware store.
- Spray Bottle & Hot Water: A simple spray bottle filled with hot water can be surprisingly effective if a steamer is outside your budget. Generously mist the wallpaper, letting the water sit for a few minutes to soften the adhesive before peeling.
- Scoring Tool: This handy tool creates tiny lines or holes in the wallpaper surface. These scores act like pathways for the steam or water to reach the adhesive layer underneath, making peeling even more accessible. Look for a scoring tool for wallpaper removal, or improvise with a box cutter or a sharp utility knife (be cautious not to gouge the wall).
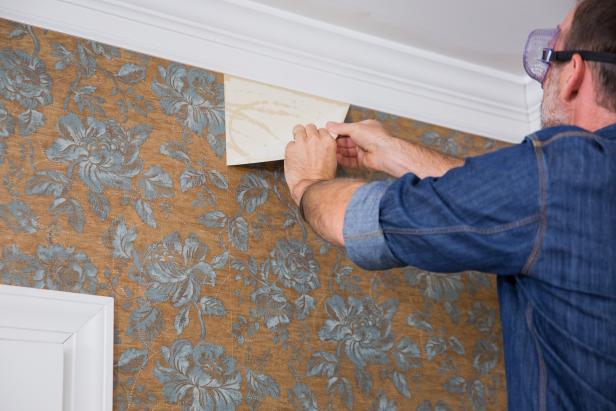
- Putty Knife (or Wallpaper Scraper): Once the wallpaper is softened, you’ll need a tool to scrape it off the wall. A comprehensive, sturdy putty knife works well for most applications. However, a dedicated wallpaper scraper with a curved blade might be more effective for stubborn areas or thicker wallpapers. Just remember to use these tools carefully to avoid damaging the drywall underneath.
- Drop Cloths & Bucket: Wallpaper removal can get messy! Lay down drop cloths or old newspapers to protect your floors from water, falling debris, and pesky wallpaper paste. A bucket will come in handy for collecting any scraped-off wallpaper or cleaning up spills.
- Sponge & Dish Soap: After removing the wallpaper, you might be left with stubborn paste residue. A damp sponge dipped in warm, soapy water is usually enough to tackle this leftover adhesive.
- Safety Glasses & Gloves: Safety first! Safety glasses protect your eyes from flying debris or accidental scrapes with your tools. Gloves will shield your hands from cuts and exposure to chemicals (if using wallpaper removal solution).
Bonus Tools for Stubborn Wallpaper
For particularly challenging wallpaper removal situations, consider adding these tools to your arsenal:
- Heat Gun: A carefully used heat gun can soften the stubborn adhesive, but be extremely cautious. Overheating the wall or damaging the drywall is a real risk. Only use this tool as a last resort and with proper heat control settings.
- Wallpaper Removal Solution: Commercial wallpaper removal solutions can be effective on particularly stubborn wallpapers. Follow the manufacturer’s instructions carefully, as some solutions might contain harsh chemicals.
Taking on the Task: Essential Techniques
Now that you’re armed with the right tools, here are some fundamental techniques for effortless wallpaper removal:
- Patience is Key: Don’t rush! Let the steam, water, or wallpaper removal solution work magic before peeling. Rushing can lead to ripped wallpaper and frustration.
- Work in Sections: Focus on removing small sections of wallpaper at a time rather than tackling large areas simultaneously. This gives you more control and prevents the wallpaper from ripping further.
- Start at the Bottom: Begin peeling from the bottom of the wall and work your way up. This helps prevent the loosened wallpaper from tearing further as you progress.
- Be Gentle with Stubborn Spots: If certain areas are particularly resistant, try applying more steam or solution and gently scraping. Avoid brute force, as it can damage the wall.
Wrapping up
You’ll conquer that pesky wallpaper with perseverance and the right tools and reveal a clean slate for your decorating dreams. Remember, tackling wallpaper removal might take time and effort, but the satisfaction of a successful project and fresh, transformed space is well worth it! So, grab your tools, embrace the challenge, and get ready to enjoy the effortless feeling of a wallpaper-free room!